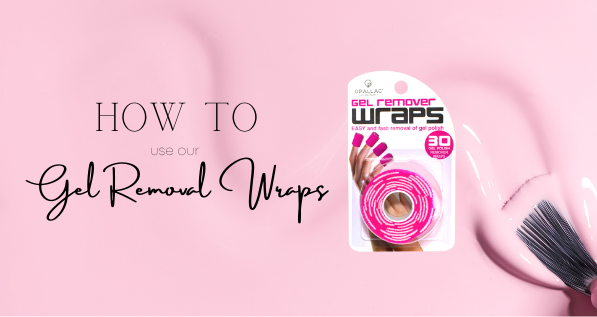
How to use our Remover Wraps

Have you tried to use our Gel Remover Wraps before and felt baffled as to why they are so tricky? Don’t worry girl, we got you! At first, they can be a little tricky to figure out, but once you do they are so efficient and less messy! Below is a simple step by step guide to help you figure them out!
File away Top Coat
As with any Gel Removal process, it is essential that you remove the shiny layer to allow the acetone to soften the Gel. Give each nail a good buff using our nail file and make sure it looks nice and rough!

Apply 2in1 Shine & Soak to Wraps

Cut one wrap section, and apply our 2 in 1 Shine and Soak Off to each one at a time, and ensuring you do not soak all wraps at the same time. When acetone is left for too long, it will start to evaporate. Wetting one at a time and wrapping immediately after will ensure this does not happen.
Wrap em Air-Tight!

Wrap each nail one at a time, ensuring that the wrap is airtight. This essential as with above, if exposed to airflow the acetone will evaporate and it will not effectively remove your Gel Polish!
Soak

Now it’s time to soak, this can take anywhere from 2 to 15 minutes. It will vary depending on how thick or thin your prefer to apply your gel, and how much you filed down your nail before soaking. After a few goes of soaking, you will get a feel for how long yours typically take.
Push away Gel Polish

Remove your wraps and if your gel is soft enough, it means it is time to ‘push’ the gel off your nail. You can do this using your other hand or with a tool if you prefer. If you have soaked for long enough, it should come off easily. If you find that it won’t come off without force, we recommend soaking for longer! If you take it off when it is not soft enough, you risk damaging your nails!
You’re done!

You’re all done, now it’s time to prep your nails for your next mani!
Grab your Remover Wraps here!


